
How to Fix a Fuel Leak Safely

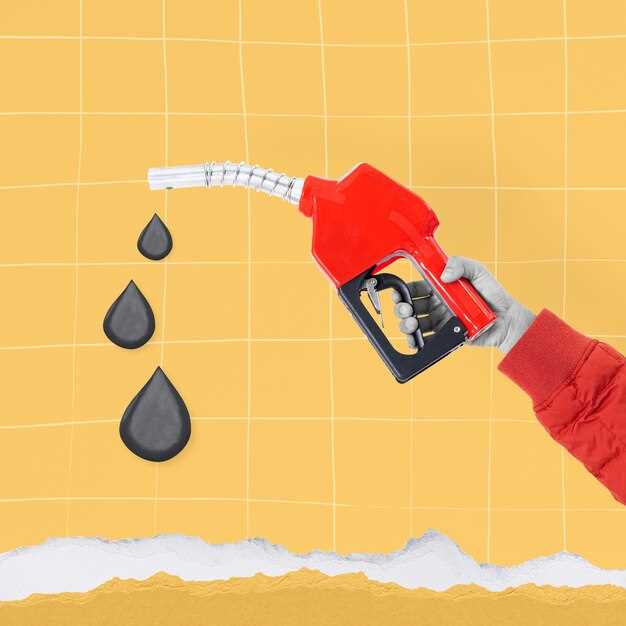
A fuel leak in your vehicle is not only a nuisance but also a serious safety hazard. The presence of gasoline or diesel fuel leaking from your car can lead to dangerous situations, including fire hazards and potential environmental issues. Addressing a fuel leak promptly and effectively is crucial for both your safety and the longevity of your vehicle. In this article, we will outline the step-by-step measures you should take to identify and repair a fuel leak safely.
First and foremost, it is essential to recognize the signs of a fuel leak. This can include the strong odor of gasoline, visible puddles of fuel underneath your vehicle, or even changes in engine performance. Once you suspect a leak, taking immediate action is vital. Ensure you park your vehicle in a well-ventilated area, away from any potential ignition sources. Understanding how to approach the repair process is key to preventing further complications.
In the following sections, we will guide you through the necessary steps to locate the source of the leak and provide effective repair solutions. From inspecting fuel lines to correctly sealing any gaps, each action will be explained in detail to promote safety and thoroughness. By adhering to these guidelines, you can ensure that your vehicle is repaired effectively, allowing you to return to the road with confidence.
Identifying the Source of the Fuel Leak
To effectively address a fuel leak in your vehicle, the first step is to accurately identify the source of the leak. Begin by inspecting the area beneath your vehicle for visible signs of fuel pooling on the ground. Note the color and smell of the fluid, which can help distinguish fuel from other fluids.
Next, check common leak points, such as fuel lines, fuel injectors, and the fuel tank. Look for cracks, corrosion, or loose connections. Pay close attention to rubber hoses, as they are prone to wear and can develop leaks over time. A thorough visual inspection of these areas is crucial.
Once you have located potential leak points, conduct a smell test. If you detect a strong odor of fuel, it is a strong indication of a leak. If the leak is not immediately visible, consider using a flashlight to inspect shaded areas or underneath components.
For more persistent or challenging leaks, using a drip pan or cardboard can help catch small amounts of fuel, making it easier to track the leak’s origin. After gathering this information, you can consult a professional mechanic for further evaluation or repairs if necessary.
Immediate Safety Precautions During a Fuel Leak
In the event of a fuel leak, taking immediate safety precautions is crucial to prevent accidents and ensure personal safety. First, turn off the engine and avoid starting the vehicle, as this may ignite the leaked fuel. Move away from the area to minimize exposure to potentially harmful fumes.
Do not use any electronic devices, such as mobile phones or radios, as sparks from these devices could trigger a fire. If you smell fuel strongly, evacuate the surrounding area and inform others to do the same. Keep away from open flames and sources of heat, as fuel is highly combustible.
If the vehicle is in a confined space, such as a garage, ensure proper ventilation by opening doors and windows. This helps dissipate any vapors that may accumulate. If you are trained and it is safe to do so, attempt to contain the leak by using absorbent materials to soak up the fuel spill.
Contact emergency services immediately if the leak is significant. Inform them of the situation and follow their instructions carefully. Always prioritize personal safety over property, and do not attempt to repair the leak unless you are professionally trained to do so.
Step-by-Step Guide to Repairing a Fuel Leak

Identifying the source of a fuel leak is the first crucial step. Begin by inspecting the fuel lines, connections, and the fuel tank for any signs of damage, such as cracks or corrosion.
Once the leak is located, ensure the vehicle is parked in a well-ventilated area, away from any open flames or sparks. It is essential to work in a safe environment to prevent any fire hazards.
Next, gather the necessary tools and materials for the repair. You will need a repair kit that is suitable for your vehicle’s fuel system, which may include rubber seals, clamps, and a sealant specifically designed for fuel systems.
Before you start the repair, make sure to relieve the fuel system pressure. This can be done by locating the fuel pump fuse in your vehicle’s fuse box and removing it. Then, start the engine, which will stall as the fuel is depleted from the system.
After relieving the pressure, carefully disconnect the damaged section of the fuel line or the faulty component. If you are replacing a line, measure the length needed and cut the new line accordingly. Attach the new line or component securely, using clamps to ensure there are no leaks.
If a sealant is used, apply it as instructed on the product label to ensure a proper seal. Allow it to cure for the recommended time before re-energizing the fuel system.
Reinstall the fuel pump fuse and turn the ignition to the ‘on’ position without starting the engine. This will pressurize the fuel system. Check for any leaks around the repaired area, ensuring that everything is secure and functioning properly.
Once you are confident that the leak is fixed, start the engine and allow it to run for a few minutes while monitoring for any signs of leakage.
Finally, dispose of any waste materials, such as old fuel lines or seals, in accordance with local regulations. Proper disposal is vital for environmental safety.