How to Inspect Seat Belts for Wear and Tear
- Arthur Rodriquez
- 0
- Posted on

Ensuring the safety of vehicle occupants is paramount, and one of the most critical components of vehicle safety is the seat belts. Regular inspections of seat belts can significantly reduce the risk of injury in the event of an accident. This article provides a comprehensive guide on how to check seat belts for signs of damage, empowering you to take proactive measures toward your safety.
Seat belts are designed to withstand considerable force, but over time, they can experience wear and tear. Environmental factors, such as exposure to sunlight and moisture, along with regular use, can lead to deterioration of the materials. Identifying potential issues early is essential for maintaining the integrity of these life-saving devices.
When examining seat belts, it is crucial to look for specific indicators of damage. Fraying, cuts, or discoloration are key signs that a seat belt may not perform optimally during a collision. Additionally, ensure that the retraction mechanism functions smoothly to prevent any obstruction during use. By following a systematic approach to checking seat belts, you can ensure that they remain in good condition and ready to protect you and your passengers when needed.
Inspecting the Webbing for Frays and Cuts

When performing a seat belt inspection, it’s crucial to examine the webbing closely for any signs of frays or cuts. This material is designed to withstand significant forces during an accident, but any damage can compromise its effectiveness.
Start by pulling the belt out fully to allow a thorough examination of its entire length. Look for any frayed edges, which may appear as loose threads or worn areas. These imperfections can significantly reduce the strength of the belt.
Next, check for cuts or tears in the webbing. Even small slashes can create potential failure points. Use your fingers to run along the belt’s surface, feeling for any irregularities that may not be easily visible.
If you identify any damage, it’s important to replace the belt immediately. Using belts that are compromised can lead to severe consequences in the event of an accident. Regular inspections are essential to ensure ongoing safety and reliability.
Examining Buckles and Latches for Functionality

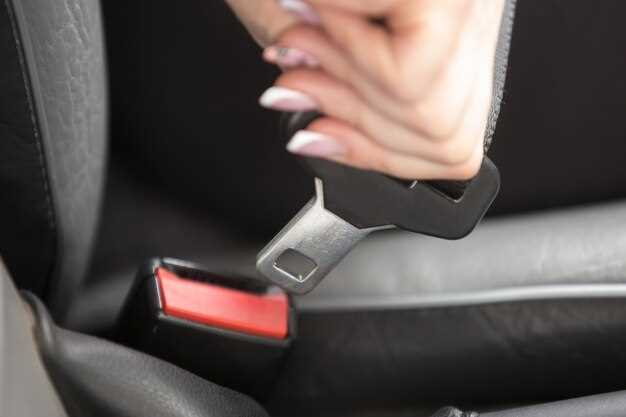
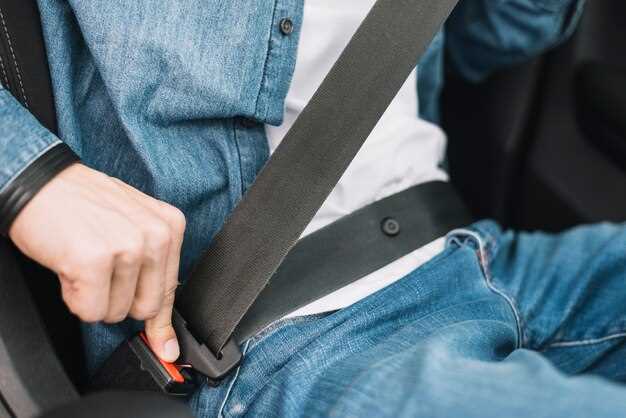
During the inspection of seat belts, it is crucial to pay close attention to the buckles and latches. A properly functioning buckle ensures that the seat belt secures the occupant effectively, contributing to safety in a vehicle.
Follow these steps to assess the condition of the buckles and latches:
-
Visual Inspection:
- Check for any visible cracks or deformities in the buckle casing.
- Look for signs of corrosion or rust that may affect the latch mechanisms.
- Ensure that the seat belt webbing is not frayed where it connects to the buckle.
-
Functionality Check:
- Insert the buckle tongue into the latch and ensure it clicks securely into place.
- Test the release mechanism by pressing the button; it should function smoothly without sticking.
- Pull on the seat belt to confirm it locks when pulled and releases without excessive force.
-
Operational Test:
- Fasten the seat belt and adjust it to check for comfort and security.
- Ensure that the belt retracts fully when not in use.
- Verify that the buckle stays securely closed during vehicle operation.
If any issues are identified during the inspection, it is essential to replace the affected parts immediately to maintain the safety and effectiveness of the seat belts.
Assessing Anchor Points and Retraction Mechanism
When conducting an inspection of seat belts, it is essential to evaluate both the anchor points and the retraction mechanism. Anchor points are critical as they secure the seat belts to the vehicle’s frame. They should be checked for any signs of wear, corrosion, or damage that could compromise their integrity. Ensure that the bolts are tightly fastened and that there are no visible cracks or deformities in the metal components.
The next step involves assessing the retraction mechanism. This mechanism should allow the seat belt to retract smoothly without resistance. Look for any signs of fraying or binding, which may indicate a malfunction. Additionally, test the retractor by pulling the belt out and releasing it to observe its retraction speed and functionality. A slow or hesitant retraction could signal a need for replacement or repair.
Overall, a thorough inspection of both the anchor points and the retraction mechanism is crucial. Ensuring these components are in optimal condition is vital for the effective performance of the seat belts in providing safety during vehicle operation.